
![]()
縫う前の下準備

接着芯は布を切る前に先に貼ってください。
接着芯ってどうやってつけるの?
布に印をつける方法はどうすればいいの?という方は↑ここにまとめていますので参考にしてくださいね。
布に印をつける方法はどうすればいいの?という方は↑ここにまとめていますので参考にしてくださいね。
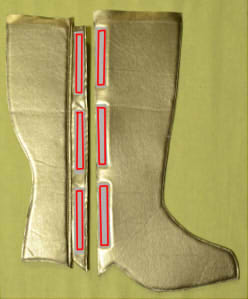
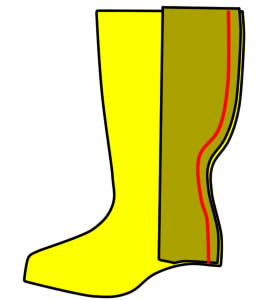
画像の色の説明
![]()

![]()

ここからメインの説明
![]()
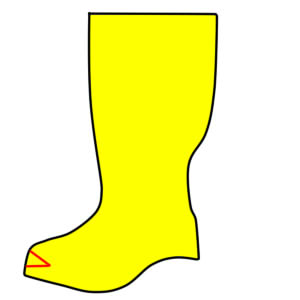
 型紙より裏に貼るソフトケース(芯)を気持ち大きめに切る
 縫った後に線に沿って切ってください。
先に切ってから縫うと端が上手く縫えなかったりするので、縫ってから切るのがポイントです。
![]()
![]()

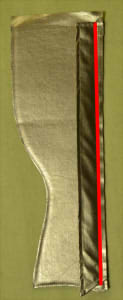
持ち出しを裏が見えるように半分に折る。
上下の縫い代を縫う
![]()
 表にひっくり返す。
端から5mmの所を縫う。
![]()
持ち出しは縫い代分かかとのパーツより短いです。
縫い代を裏に折って縫い目から5mmの所を縫って縫い代を固定する。
![]()
 持ち出しにファスナーをつける。
つま先のパーツの、折り返す部分にもマジックテープをつける。
かかと側に固いほう。つま先側にやわらかいマジックテープをつける。
![]()
 外すねのパーツの上にかかとのパーツを内側同士が表になるように重ねて縫う。
 つま先のパーツのマジックテープをつけた部分を裏が見えるように折る。
上と下の縫い代を縫う。
![]()
カーブの所に糸を切らないように切込みを入れる。
見返しを裏に返し端から5mmの所を縫う
ゴムの長さは被せる靴の幅と同じ長さ。
縫いつけたとき縫い代分伸びて丁度フィットします
![]()

底と上側の縫い代を裏へ折り縫う。
![]()
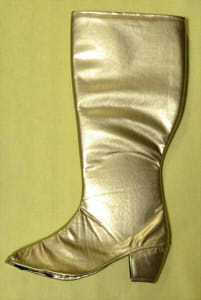
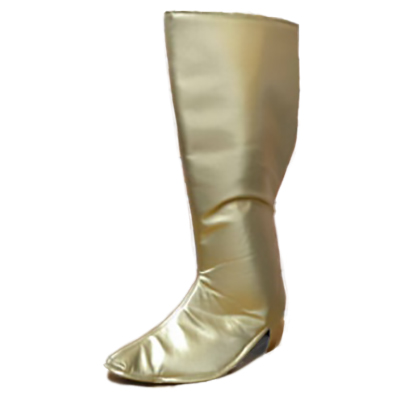
この型紙で作れます
![]()
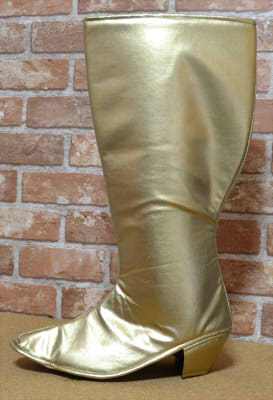
ロングブーツカバーの型紙
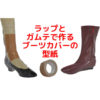
意外と簡単!ブーツカバーの型紙の作り方
自分の足にラップを巻いて直接ブーツカバーの型紙を作る方法です
【おさいほう】男装用ブーツの改造
このアイディア天才や!と思ってご本人に許可を頂いたのでご紹介します。
よくどうなってるの!?っ...
コスプレ用のすねあての縫い方
型紙を見る
ひざあてを表地と裏地を切る。
裏地の裏にダーツ(立体にするためのつまみ)...