| Home(Japanese) | Home | Introduction | How to sewing. | Paper pattern download | ||||
| Home(Japanese) | Home | Introduction | How to sewing. | Paper pattern download | ||||
Usako's sewing studio. > How to sewing. >
 |
This page
is not Japanese traditional how to sew. I explain about easy sewing.
|
|
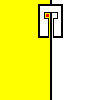 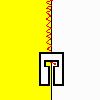 |
Rock stitch
around the all the edges. How to Rock stitch by sewing machine. |
|
 |
Sew the
center back. Fold the seam margin to left side. the edge of bottom on collar to fold it twice. How to sewing video. |
|
|
How to sew kimono collar video. | |
| Put the
reinforcing material. Put the reinforcing material and the collar and pin. |
||
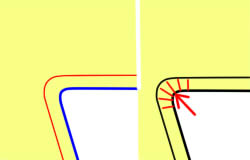 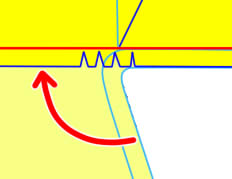 |
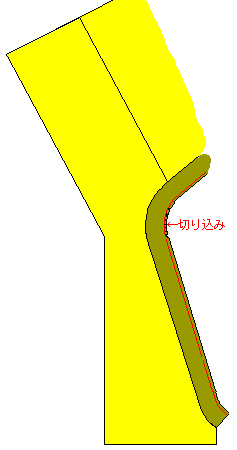
Snip around the curve.(about
0.7~0.8cm) Be careful not to cut the seam line. |
|
 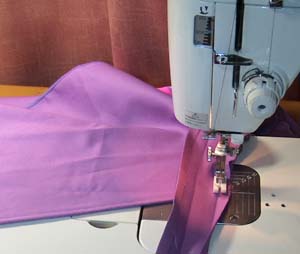 |
Put the center back of
the collar and the body together and pin. Put the collar and body together face to face. Snip around the curve. |
|
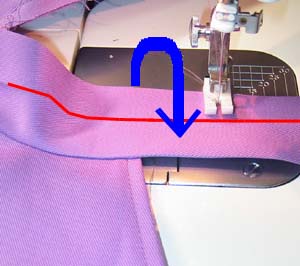 |
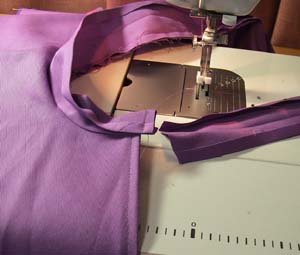
Sew the collar point. Fold the collar in half outside out. |
|
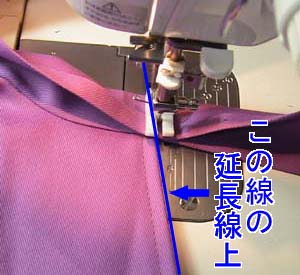 |
 Sew to the collar of the red line. Sew to the collar of the red line. |
|
 |
Cut the material. | |
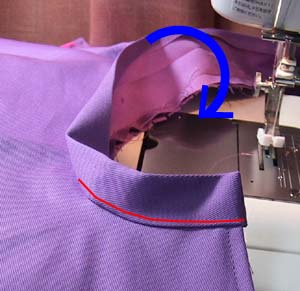 |
Turn the material inside
out. Fold the collar in half and wrap the seam. Sew the edges together about 2-5mm in from the seam line. |
|
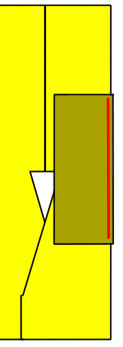 |
Sew the sleeve on to the
body. Do the seam for sleeve and the side seam. |
|
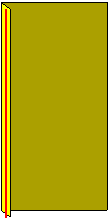 |
Make inner sleeve. Fold the cuff back. Sew the edges together about 5-8mm in from the edge. |
|
  *Sleeve *Body *Inside sleeve *Sleeve *Body *Inside sleeve |
Sew the inner sleeve on
to the sleeve seam. inner sleeve is same sleeve of pattern. Make 2cm small inner sleeve from sleeve. |
|
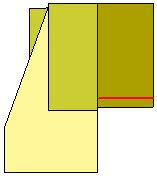  |
Sew the underarm of inner sleeve. | |
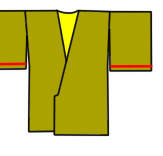 |
Sew the underarm of sleeve. | |
 |
Fold the cuff back. Sew the edges together about 5-8mm in from the edge.* |
|
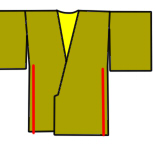 |
Sew the side seam. | |
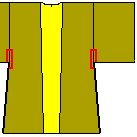 |
Sew the red line of seam. | |
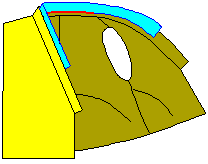 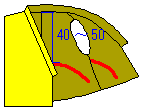 Inner collar is same collae of pattern |
Sew the inner coller Hand sew the inner collar 10cm from side to side at center back. Sew the string or ribbon
where 40 or 50cm from shoulder |
|
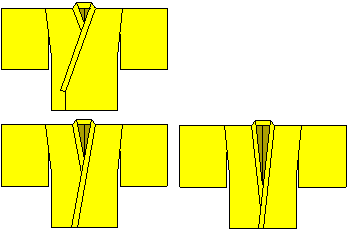
 How to make size big |
  |
|
| *Please make
sure when you wear kimono, Left side come on top on right
side. ( see photograph) When right side come outside, it is how dead person wear kimono, it is not a good thing, please be aware when you wear kimono. +-+-+-+-+-+-+-+-+- +-+-+-+-+-+-+-+-+-+-+- |
||
 Explanation on the pattern. adjusting position of sewing together. make a hall on the conner. |
It is easy even for beginners! Just sawing almost straight everything and complete! Size for Women height 170cm~ Bust till 100cm all free size. For more bigger size is easy too. http://yousai.net/nui/jinbei/jinbei1.htm All full color and easy to see both sides. There also tutorial(movie) You can start easily! This paper pattern is download date. You have to install the Zip software(archiver) and an Adobe Readeror. Both software is cost free. * Please test these data before the purchase by all means. http://yousai.net/downloads/komono/marumati.zip *Pattern only for top in this kit. For bottom, please use [Hakama pattern] You can use this pattern for many other cartoon character's costume as long as this kimono style. Of course you can arrange and make halloween costume to many events. You can check details always from our website http://yousai.net/nui/jinbei/jinbei1.htm Note: *Please make sure when you wear kimono, Left side come on top on right side. ( see photograph) When right side come outside, it is how dead person wear kimono, it is not a good thing, please be aware when you wear kimono. |
|
Home > How to sewing tutorial. > How to make the jinbei.
Copyright 2001 USAKO(usako). All
rights reserved. Never reproduce or republicate without written
permission.
No reproduction or republication without written permission.