|
||||||||
| Home(Japanese) | Home | Introduction | How to sewing. | Paper pattern download | ||||


Translate
![]()
![]()
![]()
![]()
![]()
![]()
![]() ...etc
...etc
|
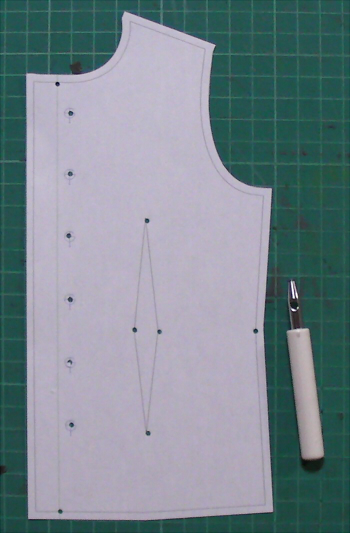
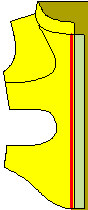
1) Put the paper pattern
on to the material and mark around it. On youhave done this cut along the lines. Fist rough cut material bigger than pattern. Also rough cut interfacing bigger than pattern and smaller than material and stick on the material with iron.
|
|
 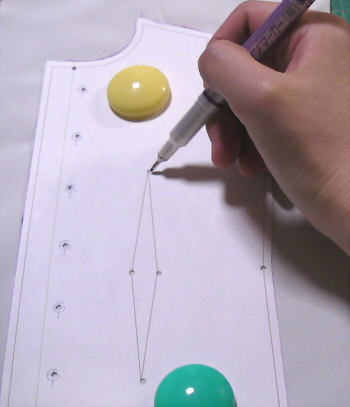 |
2) Make a copy of paper pattern mark. | |
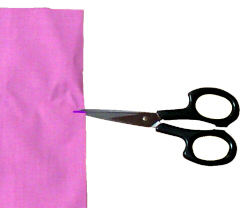 |
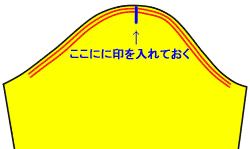
3) Let's make notches
for alignment before sewing it (You put an around 5-8mm cut in a margin for a seam so that the cut is not seen from the right side as to align the position of sleeve and sleeve cap as well.) |
|
  |
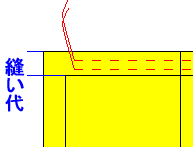
4) That is a method of zig zag sewing for home use. Make edge of cloth comes to center of metal holder. When needle goes down on right side, As to be forced out and sew zig zag. This way a part that being forced out covering edge of cloth and not to get frayed. |
|
  |
5) Sew the center back. | |
 |
6) Sew the side. Repeat on the lining end. |
|
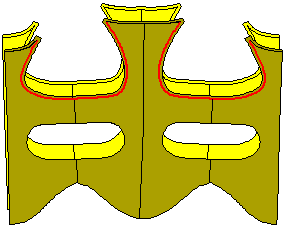 |
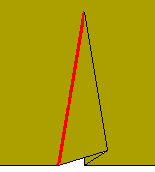
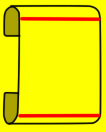
7) Put the front side
and reverse side together face to face. Sew the red line. Snip around the curve. |
|
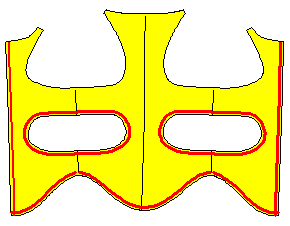 |
8) Turn the material
inside out. Sew the topstitching the red lline 0.5cm in from edge. |
|
  |
9) ????????? ?????????? |
|
  |
10) Sew the darts. Sew the center back. |
|
 |
11) Sew the sleeve and
body together face to face. Repeat on the under lining. |
|
 |
12) Put the face side
and lining together face to face. Sew the bottom 1cm in from edge. Turn the material inside out. Sew the topstitching the bottom 0.5cm in from edge. |
|
 13) ??????????????????????(??????)??????????????? ???????????? ?)???????????????????????????? |
||
 |
14) Sew the
collar together face to face. ????????????????? |
|
 |
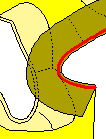
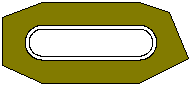
15) Snip around the curve. | |
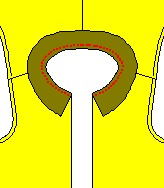 |
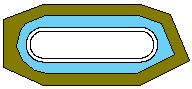
16) Sew the
collar and underlining.
|
|
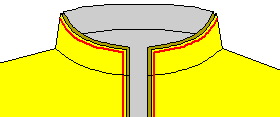 |
17) Put the
face side material and underlining wrong side together. Sew the topstitching the collar and center front. |
|
 |
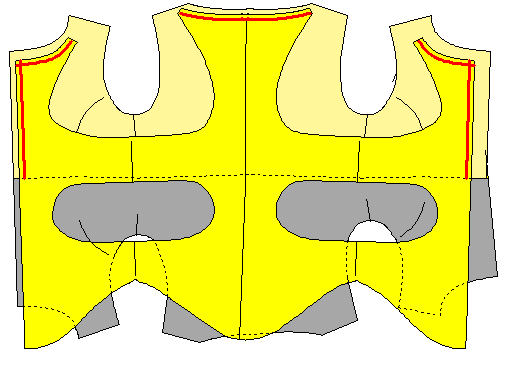
18) Sew the
topstitching 0.2 - 0.5cm in from the neck hole. Sew the arm hole 0.5cm in from edge. |
|
 |
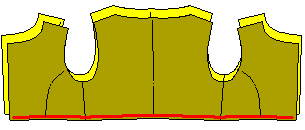
19) Wrap
the edge by bias tape. |
|
 |
20) Fold
handle half as showing lining, stitch 1.5cm on top and
bottom. inside out and sew around about 5mm. ????????????????????????????????????????????? ??????????????????????????????? (????????????????????????) |
|
 |
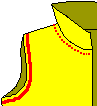
21) Sew the
facing on the front bodice. |
|
  |
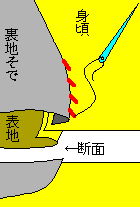
22) Sew
sleeve. There extra space on the sleeve, reason for make it 3 dimensional. Make sure squeeze the gather. sew 2lines on the 2~3mm on top and bottom from front of finishing line. "Important" Beginning of sewing and end of it make sure starting from a way over 5cm from the edge and make sure have extra thread. |
|
 |
23) How to
squeeze gather. Make longer sew length on the machine. |
|
 |
24) Turn down the dial for the upper thread. | |
 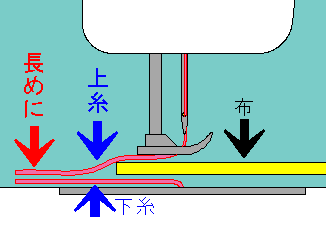 |
25) Start
sewing from 1.5cm from the edge. Sew 2 lines in margin to sew up. Sew 2 lines gatherer better than 1 line. For beginning of sewing , make sure have extra thread after machined. For the end make sure have extra thread and cut. |
|
 |
26) After sew 2 lines on top and bottom and pull the under thread, it makes gather | |
 |
27) Made to
original thread adjustment and sew the underarm. Made to original thread adjustment and sew the underlining of underarm. Underlining of sleeve is same sewing. |
|
 |
Turn the
face side material inside out. ??????????????????????? |
|
 |
29) Wrap the edge by bias tape. | |
 |
30)
Layer together sleeve and main part. Layer top of sleeve , margin of bottom of sleeve and margin of arm together and adjusting gather, place with marking pin. For beginners, do baste well and take out all marking pin and sew with machine. ??????????????????? |
|
 |
31) Sew the
face of sleeve and underlining of sleeve. Pin the underlining and armhole together. |
|
  |
 32) Sew the sword of loop. 6??????????????????????????????????????? ??????????????????????? Fold both seam magin. Fold loop in half. and sew the topstitching. |
|
 |
Fold both
seam magin. ??????????? Sew the topstitching. |
|
 |
Attach the snap.. | |
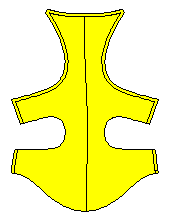
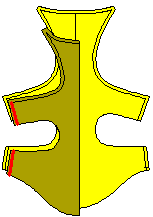
| Explanation on the
pattern. adjusting position of sewing together. make a hall on the conner. |
|
|
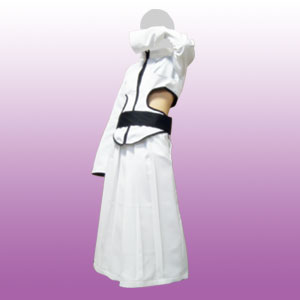
Home > How to sewing tutorial. > How to make a Luppi like jacket.
No reproduction or republication without written permission.
Home(Japanese) | Home | Introduction | Paper pattern download. | How to Sewing video.


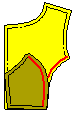
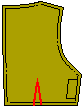
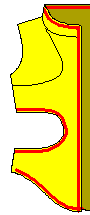
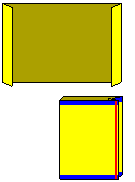
 front side.
  reverse side.
  facing material.
 Spread open the seam.